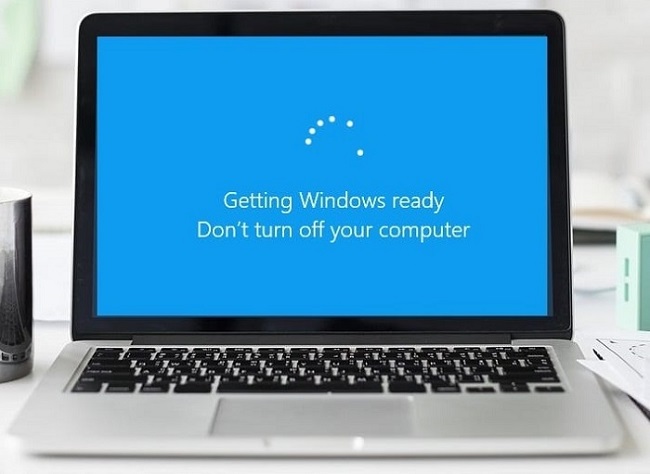
In most cases, this will only cause a temporary delay, but on rare occasions, the Getting Windows ready screen may appear to become permanently frozen. It’s not always obvious what to do in those situations.
If the “Getting Windows ready” screen is permanently displaying, try the following troubleshooting steps.
Contents
Keep Waiting — Really
It’s impossible to predict how long it will take to get Windows ready, and Windows won’t tell you. The operating system isn’t always accurate when estimating how long an update will take to instal.

The best course of action is to let the update complete, even if it has taken a long time thus far. Just how long do you consider to be long enough? After three hours of seeing the “Getting Windows ready” screen, you should probably try something else.
Read Also:
Verify Your Network Connection.
The Getting Windows ready screen may remain frozen if your internet connection is unstable since updates rely on it. Verify that another device in the same room can connect to the network successfully if you are using Wi-Fi.
If you’re still having trouble, try reconnecting your computer to the router directly via an Ethernet connection, or try restarting your router and modem.
For Best Results, Please Restart Your Device And Try Again.
Restarting a computer while an update or while the Getting Windows ready screen is displayed used to be risky, since it may cause data corruption or even a Blue Screen of Death.
Unfortunately, it’s still not recommended, even though the potential for disaster has diminished in Windows 10. All this to say, if you have waited several hours and are positive the update is truly stuck, you might try restarting your PC and checking if it boots normally afterward.
In order to achieve this, a hard shutdown must be performed. You can either remove the power cord from a desktop computer or press and hold the power button until the computer turns off. Turn the computer back on after waiting a minute.
Start Windows in Repair Mode.
Your computer may “hang” at the Getting Windows ready screen even after you’ve rebooted it, but there are a few things you may do. The Windows Startup Repair tool is located on the Advanced Boot Options page and should be the first thing you try.
However, a USB version of the Windows installation software that can boot is required before you can proceed. A bootable Windows 11 USB flash drive can be made by visiting the Download Windows 11 page on a different computer and following the instructions in the Create Windows 11 Installation Media section.
Once you’ve done so, reboot the ailing machine, insert the USB disc, and Windows will load automatically. After it loads, select Repair your machine and then Troubleshoot. To fix a faulty startup, select Startup Repair from the menu of powerful extras. Let the repair programme finish, then reboot without the USB drive in to see whether everything is back to normal.
Start The File Checking Utility.
If it didn’t fix the problem, there are other options you can try. To go to the setup menu, boot from the USB disc you created in Step 1. Go to Start by Repairing Your Computer, then Troubleshooting. You should select Command Prompt from the Advanced menu.
Type sfc /scannow into the command prompt and hit Enter to run the check. Let the system file checker finish its process, then reboot to see if that resolves the issue.
Carry Out a System Restoration
It’s possible to become unstuck by using The Getting Windows Ready screen prompts you to roll back your system to a point before the problem began. One way to do this is to use Windows’ built-in System Restore feature.
This time, boot to the system’s initial setup screen from the USB drive. Initially, select Troubleshoot, and then proceed to Repair Your Computer if necessary. Select System Restore from the menu labelled “Advanced.”
Select a time and date that is somewhat recent, but before your computer became mired in the Getting Windows ready loop. Computers usually just need to be reset in order to function normally.
Read Also:
Put Windows Back to its Original Settings
If none of these solutions work, it’s possible that there’s a more fundamental issue with your Windows installation, and the only option at this point is to restore Windows to its original state.
The good news is that Windows can be installed directly from the bootable USB stick. To reinstall Windows, boot from the drive and stick to the on-screen prompts.


